
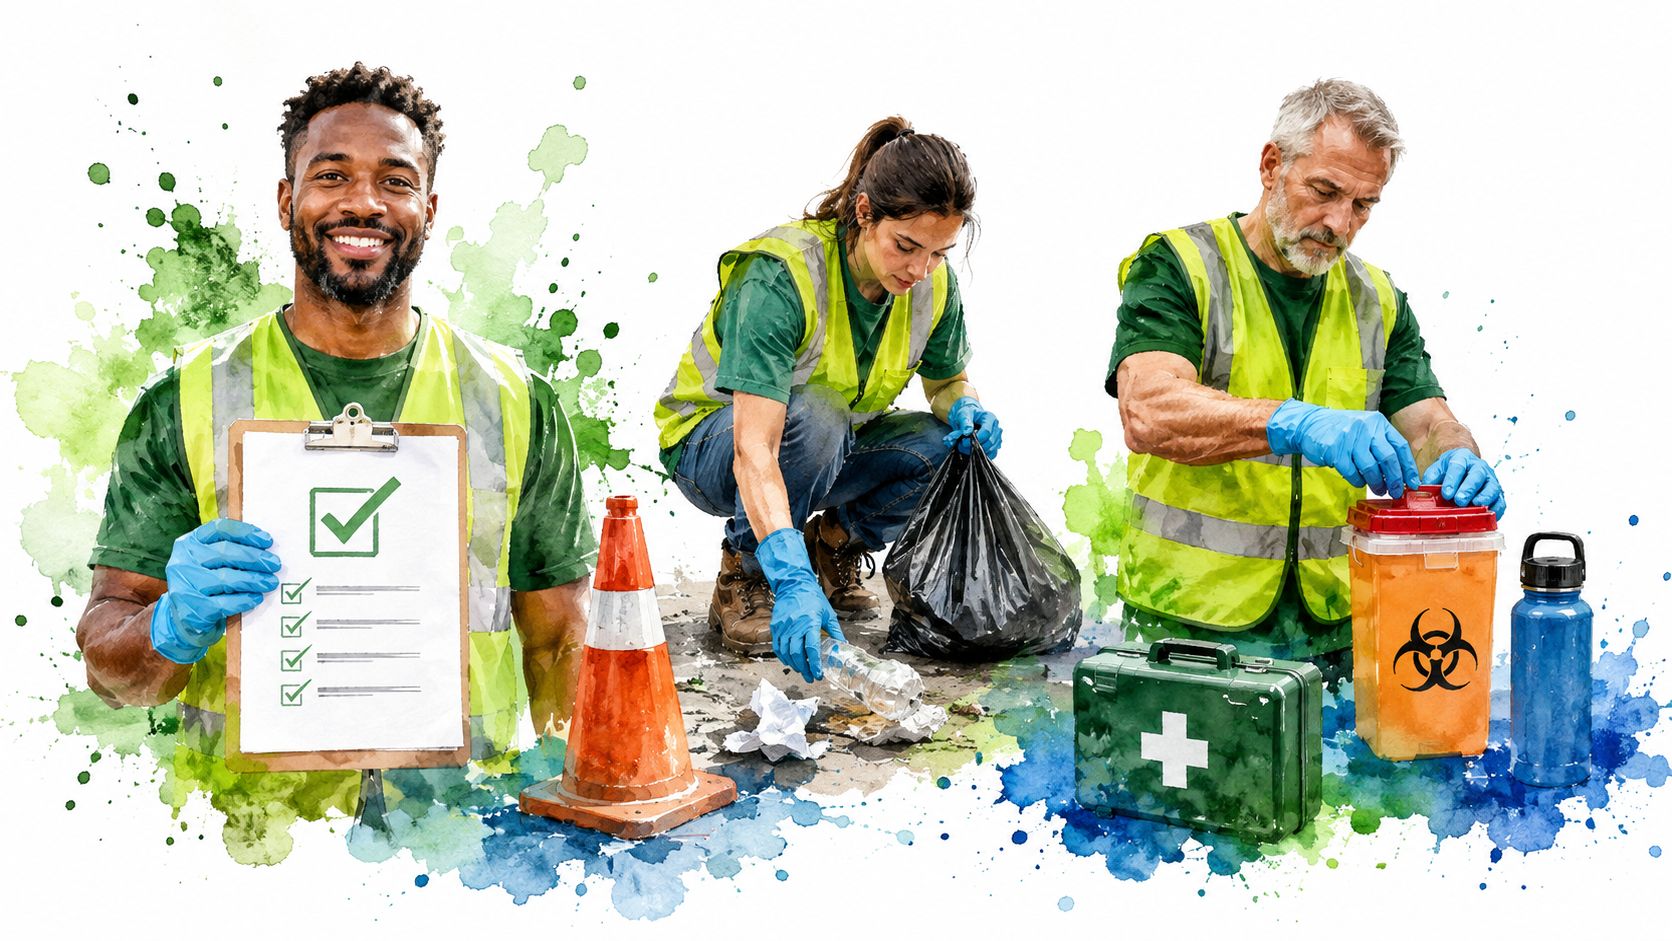
Before the first bag fills, a cleanup crew can face a serious decision. Your team reaches a busy street, spots broken glass beside the curb, and must choose whether to keep moving, change the route, or stop and report it.
A volunteer safety checklist works like a flight plan. It gives everyone a shared route, clear stop signals, and a way home when conditions change. The checklist below follows the volunteer journey from the first briefing to the final incident note, covering route hazards, equipment, buddy coverage, weather, biohazards, first response, inclusive roles, wellbeing checks, and cancellation decisions.
At Litter Caterpillars, the litter count never outranks volunteer safety or happiness. Our Chicago group works across all 50 wards, including places where traffic, ice, construction, abandoned materials, or changing public activity can make a normal cleanup unpredictable. A good plan lets people act with courage without asking them to gamble with their health.
1. Brief Your Team on the Day's Route and Hazards
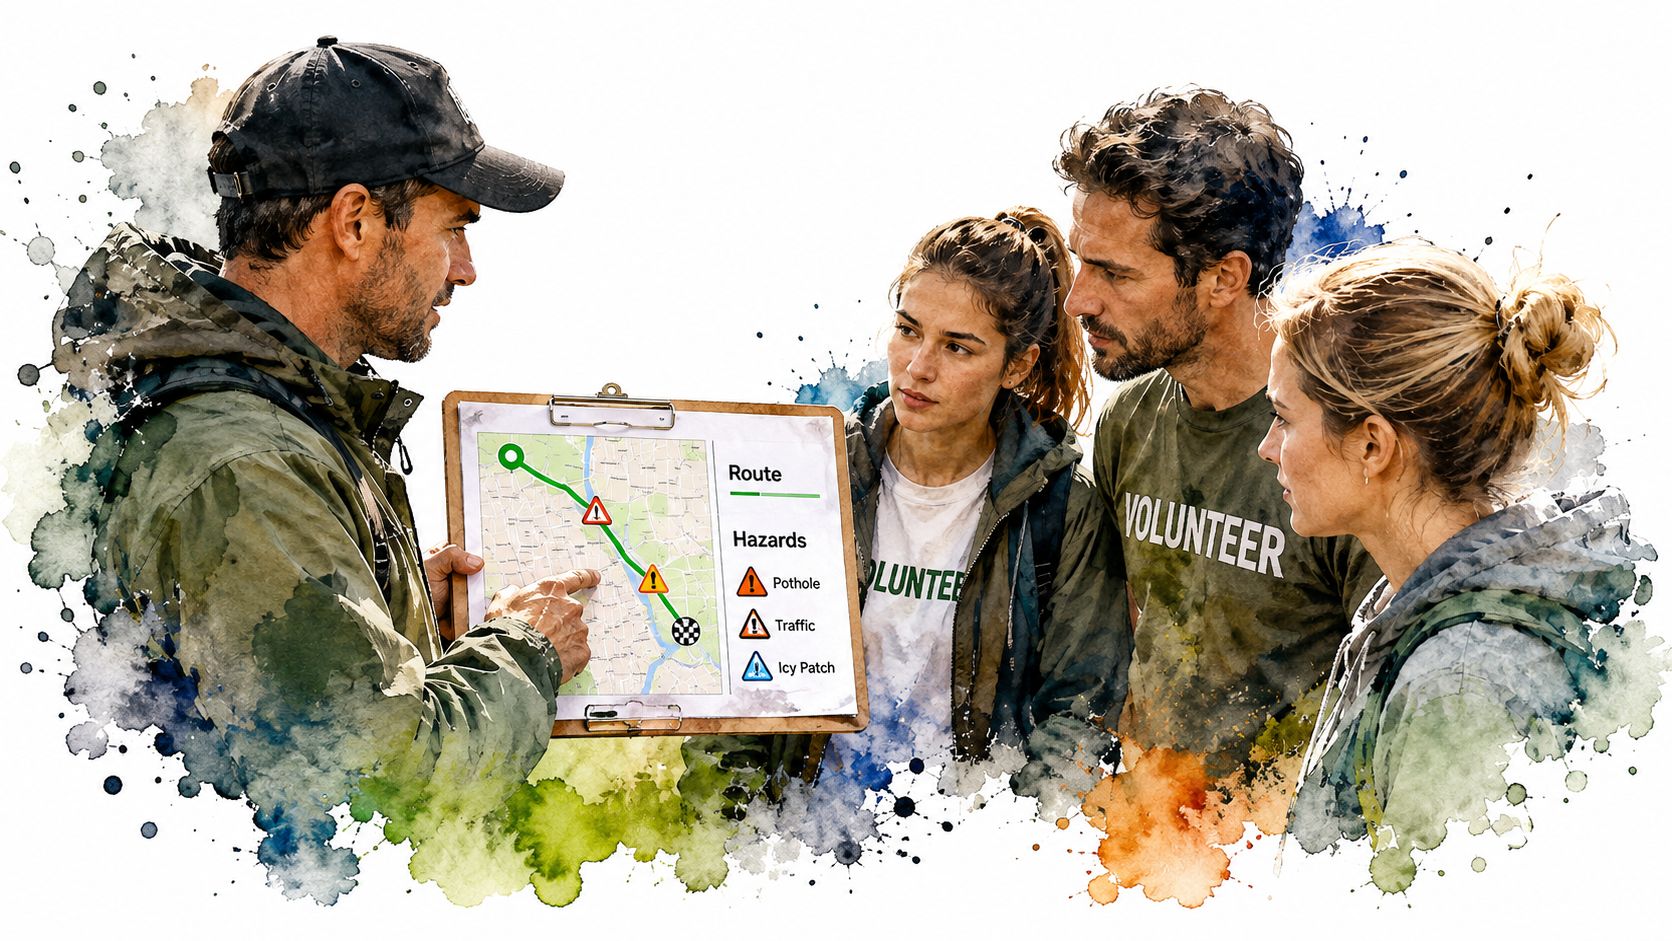
Start with a map, then turn the map into a conversation. Tell volunteers which streets they'll walk, where the group will regroup, and what they might encounter. Point out broken-glass areas, busy crossings, aggressive dogs, potholes, poor lighting, ice, slippery pavement, and places where foot traffic changes quickly.
I learned this during an early highway cleanup held during a bike-event shutdown. One volunteer nearly stepped into a pothole because the road condition hadn't made it into the briefing. Since then, I've treated route knowledge as equipment. Before heading into Englewood, where we won our lot for Caterpillar Park, I explained the potholes and the blocks with heavier foot traffic. Nobody got hurt because people knew what to watch for.
Use landmarks instead of vague directions. “Stay near the blue mural and regroup at the corner store” gives people something they can see. Ask whether anyone has worked in the area before. Local observations often reveal a loose dog, a blocked sidewalk, or a slippery corner that a map won't show.
Practical rule: Give volunteers enough information to make a safe choice. Specific warnings respect people. They don't frighten them.
The IFRC volunteer safety guidance calls for risk assessment, situation analysis, basic information gathering, and scenario planning before volunteers act. Apply that logic in plain language. Explain what could change, who makes the call, and when volunteers should leave a threatening situation.
2. Provide Proper Protective Equipment and Know How to Use It
A pair of thin gloves doesn't make every object safe. Cleanup crews need equipment that matches the work, fits the volunteer, and stays within reach. At a minimum, prepare sturdy gloves, grabbers, bright safety vests, suitable footwear, water, a first aid kit, and a reliable way to contact the coordinator.
Greenville County's National Cleanup Day safety guidance says each group should carry a first aid kit, water, and a cell phone. It also calls for orange safety vests, group work, facing oncoming traffic, and working on one side of the road at a time. Those details turn a casual outing into a controlled field task.
At Litter Caterpillars, volunteers can keep their bright vests. The color helps drivers see the group, and the vest gives the crew a shared identity. Volunteers have told me that wearing the gear makes the event feel organized rather than improvised. That feeling matters because people make better decisions when they understand that the team takes safety seriously.
Read our guide to becoming a trash pickup volunteer before your first event, then demonstrate every tool at the opening briefing. Show how to squeeze a grabber, how to keep sharp objects away from the body, and how to place a filled bag without dragging it across a walkway. Never let a newcomer improvise with bare hands.
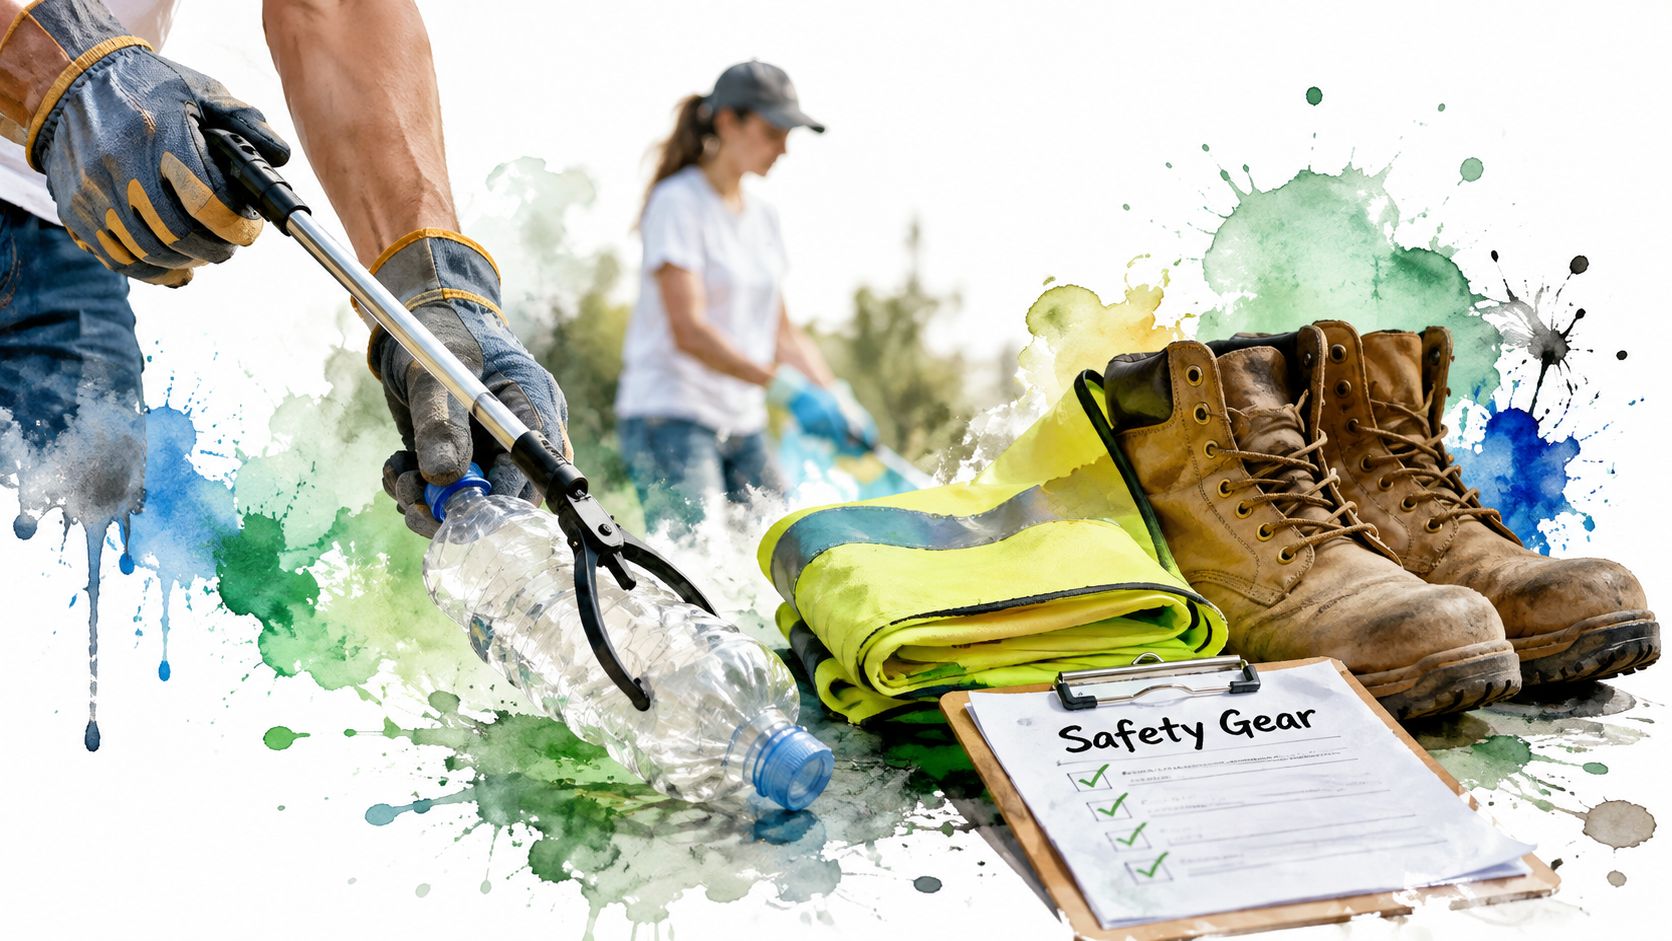
Keep spare gloves and grabbers for late arrivals. Record what you issue, inspect damaged equipment, and replace items before someone needs them. If volunteers need eye protection, explain how to pick safety glasses for any work setting.
A short demonstration prevents a dangerous shortcut.
3. Establish a Buddy System So Nobody Works Alone
Pair people before the first bag leaves the staging area. A buddy gives each volunteer a nearby person who can notice a fall, hear a concern, help find the route, or call the coordinator. The system also reduces wandering, especially when a crew spreads across several blocks.
Let people choose partners when practical, then mix newcomers with experienced volunteers when you need broader support. Give every pair a defined area. You should know which pair covers which block, path, or park edge without searching through a group chat.
During winter events, I've watched buddy pairs spot icy patches before either person stepped forward. One volunteer points, the other slows down, and the pair changes direction. That small exchange can prevent a fall. Many friendships in our group began with two strangers sharing a grabber and watching the pavement for each other.
Build coverage into the route
Set a communication rhythm before the event begins. Check in with teams every 20 to 30 minutes, especially in unfamiliar neighborhoods. Use a call, text, group-chat message, or visible return to the staging point. The method matters less than the habit.
A buddy system fails when partners separate without telling anyone. Ask pairs to stay within sight or voice range, avoid entering closed areas, and report route changes. If one person needs to leave, the pair tells the coordinator and returns together or receives a new partner.
The OnRoute guide to safeguarding field teams can help organizers think through lone-worker exposure and communication coverage. Adapt the approach to your group, but don't allow “I'll only be gone for a minute” to become the default plan.
4. Monitor Weather Conditions and Adjust Your Event Accordingly
Weather decisions need an owner, a review time, and a defined response. Check conditions the night before and again on the cleanup morning. Then tell volunteers whether the event will start earlier, use a shorter route, change tasks, move indoors, pause, or cancel.
Rain can hide potholes and turn pavement slick. Wind can shift loose debris or push objects toward the group. Heat can drain a volunteer before they recognize the warning signs. Cold can cause numbness, shivering, and poor hand control. Lightning means stopping work and leaving exposed areas. Assign one coordinator to make these calls rather than waiting for volunteers to interpret the sky.
On hot days, our team has started at 7 a.m. instead of 9 a.m. and moved indoors for planning or meetings by noon. During severe cold, we ask volunteers to layer clothing, watch for numbness and shivering, and take shorter outdoor assignments. People can manage difficult conditions when they know the risks and can leave without shame.
“If the forecast changes, the plan changes.”
The IFRC implementation guide links volunteer safety with security and wellbeing at local and national levels. For a cleanup, weather belongs in the live operating plan, not only on the registration page.
Put plain triggers in the group chat:
- “Lightning nearby means stop work.”
- “Confusion, weakness, numbness, or unusual cold means report it immediately.”
- “The coordinator can pause or end the event.”
Use the heat exhaustion prevention tips from Litter Caterpillars during the heat briefing, and give the coordinator clear authority to change the plan.
5. Train Volunteers on Hazardous Materials and Biohazards
Treat unknown objects as unknown. Volunteers may find broken glass, syringes, animal waste, chemical containers, medical waste, white powder, or material that looks dumped from a worksite. A cleanup crew shouldn't handle items that can cut, puncture, poison, infect, or expose people to contamination.
Give the team one simple response: stop, step back, warn nearby volunteers, and flag the location. The coordinator can photograph the item from a safe distance and report it through the right city channel. Needles go to the Chicago Department of Streets and Sanitation. Animal-waste problems go to animal control, and chemical spills go to the city. Serious hazards need professional response.
I've seen volunteers move toward a syringe because they wanted to help quickly. The right action took less time than a risky pickup. We stopped work around the area, reported the material, and moved the team to another section. A volunteer once spotted what looked like industrial dumping and reported it instead of touching it. That protocol protected the crew and gave the city useful information.
Teach the stop-work phrase
Put photos of syringes, chemical bottles, suspicious powders, and contaminated materials on a one-page handout. Keep the language direct:
- Stop: Freeze the task and keep hands away.
- Flag: Mark the area from a safe position.
- Report: Contact the coordinator and the appropriate city service.
- Move: Shift the group away until someone qualified handles the hazard.
Share Chicago cleanup opportunities through Litter Caterpillars volunteer opportunities, then give every new volunteer the same hazard briefing. Consistency matters. A confident newcomer should know that bravery means reporting a danger, not touching it.
6. Keep a First Aid Kit and Know Basic First Response
Keep the first aid kit in the coordination bag, not buried in a vehicle under spare bags. Everyone should know where it sits. At least one event leader should know how to respond to bleeding, scrapes, sprains, shock, and the first steps of an emergency call.
Stock the kit with antiseptic wipes, gauze, bandages, antibiotic ointment, elastic bandages, pain reliever, and a small emergency blanket. Check it regularly, replace used or expired supplies, and label it so a volunteer can find it without asking three people.
A glass cut needs a calm response. Stop the activity, move the injured volunteer away from the work area, clean and cover the wound, and decide whether they need further care. A twisted ankle needs rest and assessment before anyone asks the person to continue. Light duty may work for a minor problem, but the injured volunteer gets the final say.
Make emergency location simple
Before volunteers spread out, identify the nearest accessible meeting point and the person holding the phone. If you call 911, describe the street, nearest landmark, route access, and what happened. A city block can feel confusing when someone is bleeding and traffic is moving around you.
Take a first aid course by Cura Academy or use a local Red Cross training option. Training doesn't turn a volunteer into a medical professional. It does help a leader stay composed, protect the scene, and get appropriate help quickly.
First response principle: Treat the person before you protect the schedule. The bags can wait.
7. Communicate Clear Expectations About Physical Ability and Mental Readiness
A cleanup may involve walking, bending, carrying, standing, watching traffic, tolerating noise, and working around unfamiliar conditions. Explain the terrain, route length, pace, weather, and physical tasks before volunteers arrive. Offer choices without asking anyone to disclose private medical details in front of the group.
A volunteer may manage asthma, limited mobility, back pain, medication effects, sensory sensitivity, anxiety, or a difficult day. They may want to help while avoiding traffic exposure or an unfamiliar block. Give them a clear way into the work, and let them change roles without having to justify the decision.
- Pickup role: Use a grabber on a suitable surface.
- Supply role: Sort gloves, bags, water, and tools at the base point.
- Welcome role: Greet volunteers, explain the route, and answer questions.
- Documentation role: Record locations, photograph progress, or note hazards.
- Low-exposure role: Work in a familiar area with close access to support.
Match the role to the person's capacity that day. A volunteer with a chronic back issue may collect litter during one event, then manage supplies or greet newcomers at another. Both assignments keep the cleanup moving. A first-time volunteer can begin on an easier street and choose a more demanding route after gaining confidence.
Use private check-ins, opt-in assignments, and clear permission to leave without penalty. Mental readiness matters too. Unfamiliar waste, traffic, conflict, or distressing scenes can affect participation, so explain what volunteers may encounter and identify a leader they can approach.
Do not praise exhaustion as proof of service. Praise good judgment, steady participation, and helping someone find a role they can perform safely.
8. Establish a Check-In System and Know When to Cancel or Pause
A check-in only works when the leader listens to the answer. Ask how people feel, look for changes in pace or behavior, and accept “I need to stop” without debate. A volunteer who sits down more often, looks flushed, shivers, speaks unclearly, seems confused, or favors an injury needs attention before the issue grows.
Use a simple group rhythm. Ask everyone how they're doing at regular intervals, then speak privately with anyone who looks unwell or unusually quiet. You can use a shared scale: “If you're at a 10, tell me you're great. If you're at a 5, tell me you're okay. If you're at a 1, tell me immediately.”
Give leaders permission to change the plan
One Saturday, our route was partly closed by construction. We regrouped, moved to a backup location, and kept the group together. On another hot day, I noticed a volunteer slowing down and sitting more often. I moved them into shade, brought water, and offered lighter work for the rest of the event.
The Australian volunteer worker duties guidance uses numbered questions about induction, safe equipment, PPE, emergency procedures, hazard reporting, and contact arrangements. It says a “No” answer requires corrective action. Use that same discipline during the event. If the route, gear, communication, or weather fails the check, fix it before work continues.
Cancel when you can't control the exposure. Pause for water, shade, warmth, route changes, or medical attention. Volunteers will remember that you protected them, and they'll trust the next event more because of it.
Volunteer Safety: 8-Point Comparison
| Item | Implementation Complexity 🔄 | Resource & Logistics ⚡ | Expected Outcomes 📊 | Key Advantages ⭐ | Quick Tip 💡 |
|---|---|---|---|---|---|
| Brief Your Team on the Day's Route and Hazards | Low–Medium: 10–15 min briefing plus some advance scouting | Low: leader time, route notes, map/clipboard | Increased situational awareness; fewer surprises/incidents | Prevents hazards; builds trust and readiness | Keep it conversational; point out landmarks |
| Provide Proper Protective Equipment and Know How to Use It | Medium: sourcing, sizing, demos required | Moderate–High: gloves, grabbers, vests, first aid; maintenance ($300–500 initial for small group) | Fewer cuts/infections; higher volunteer confidence & professionalism | Dramatically reduces injuries; improves visibility | Bring extras; demonstrate grabber use; log gear |
| Establish a Buddy System So Nobody Works Alone | Low: pairing and basic coordination | Low: assignment logistics, handle odd numbers | Faster response to incidents; reduced isolation | Improves safety; deters unwanted attention; builds bonds | Mix experienced with newcomers; assign specific blocks |
| Monitor Weather Conditions and Adjust Your Event Accordingly | Medium: forecast checks and contingency planning | Moderate: water, shade/warming stations, possible reschedule | Prevents heat/cold illness; keeps events safe and adaptable | Reduces weather-related injuries; shows planning maturity | Check forecast night/morning; use heat/cold protocols |
| Train Volunteers on Hazardous Materials and Biohazards | Medium: brief training + reporting protocols | Low–Moderate: one-page handouts, photos, contact lists, city coordination | Fewer exposures; correct escalation to authorities; less liability | Protects against bloodborne/toxic hazards; ensures proper reporting | Use photo handout; adopt "stop and flag" system |
| Keep a First Aid Kit and Know Basic First Response | Medium: kit upkeep and at least one trained responder | Low–Moderate: kit cost, occasional training, monthly checks | Immediate care for minor injuries; reduced infections; documented incidents | Prevents complications from minor injuries; builds trust | Take a Red Cross course; check kit monthly |
| Communicate Clear Expectations About Physical Ability and Mental Readiness | Medium: prepare role options and communicate clearly | Low: clear descriptions, support roles, flexible assignments | Fewer injuries; higher inclusion; reduced burnout | Inclusive participation; sustained volunteer retention | State terrain/distances up front; offer light-duty roles |
| Establish a Check-In System and Know When to Cancel or Pause | Medium: scheduled check-ins and decision criteria | Low–Moderate: leader attention, documentation for pauses/reschedules | Catches problems early; prevents escalation; increases trust | Encourages speaking up; protects volunteers; enables safe pivots | Do group check-ins every 20–30 min; set clear stop-work rules |
Pack the Checklist With the Grabbers
A printed event card should fit inside the coordinator's folder and answer one question quickly: Who does what, where, and what happens when conditions change? Don't leave responsibility floating between several friendly people. Assign each duty before volunteers arrive.
Write the route, backup route, staging point, and no-go areas at the top. Add the route hazards you discussed, including broken glass, traffic patterns, dogs, potholes, ice, construction, steep slopes, guardrails, medians, bridges, roundabouts, concrete walls, utility sites, and private property. Seattle's cleanup guidance lists those areas as off-limits for litter pickup and tells volunteers to stay on public property.
List the equipment owner next. Name the person carrying first aid supplies, the person holding the phone, the weather decision-maker, and the person who tracks buddy pairs. Record where the water, PPE, spare grabbers, and emergency contacts are located. The Nonprofit Risk Management Center field guide recommends learning the area, mapping the route, charging phones, leaving an itinerary, and checking vehicle lights, brakes, tires, and fuel before field assignments.
Your event card should include:
- Route and hazards: List streets, landmarks, restricted areas, and backup locations.
- Equipment: Confirm gloves, grabbers, vests, water, bags, first aid, and safe footwear.
- Buddy pairs: Record each pair and its assigned area.
- Weather call: Name the person who can shorten, pause, switch, or cancel the event.
- Hazard rules: Tell volunteers what they must never touch and how they report it.
- Emergency response: Note the first aid location, phone holder, meeting point, and 911 details.
- Accessible roles: Prepare lighter, seated, lower-exposure, supply, greeting, and documentation work.
- Check-ins: Set the communication rhythm and the signs that require immediate action.
- Incident notes: Record injuries, near misses, hazards, route changes, reports, and follow-up needs.
Review the card aloud at the briefing. Ask volunteers to repeat the stop-work rule in their own words. If someone can't explain what to do after finding a syringe or seeing lightning, slow down and clarify before the crew moves out.
After the cleanup, don't throw the card into a drawer. Record what happened while the details remain fresh. Note the icy corner, blocked sidewalk, loose dog, missing glove size, weather change, or confusing instruction. Then update the next event plan. A checklist earns its place when people use what they learned.
Litter Caterpillars built its volunteer-first approach through weekly Chicago cleanups in rain, heat, blizzards, and cold wind. The group's identity includes flags, theme songs, badges, and shared pride, yet the operating rule stays plain: volunteers come first, happiness comes next, and the litter can wait. A safer cleanup gives people the chance to return next weekend with energy, trust, and a story worth telling.
Litter Caterpillars gives Chicago volunteers a practical way to clean neighborhoods, meet people, and take on outdoor service with safety and friendship at the center. Visit Litter Caterpillars to find an upcoming cleanup, join the group chat, and bring this volunteer safety checklist into the field.