
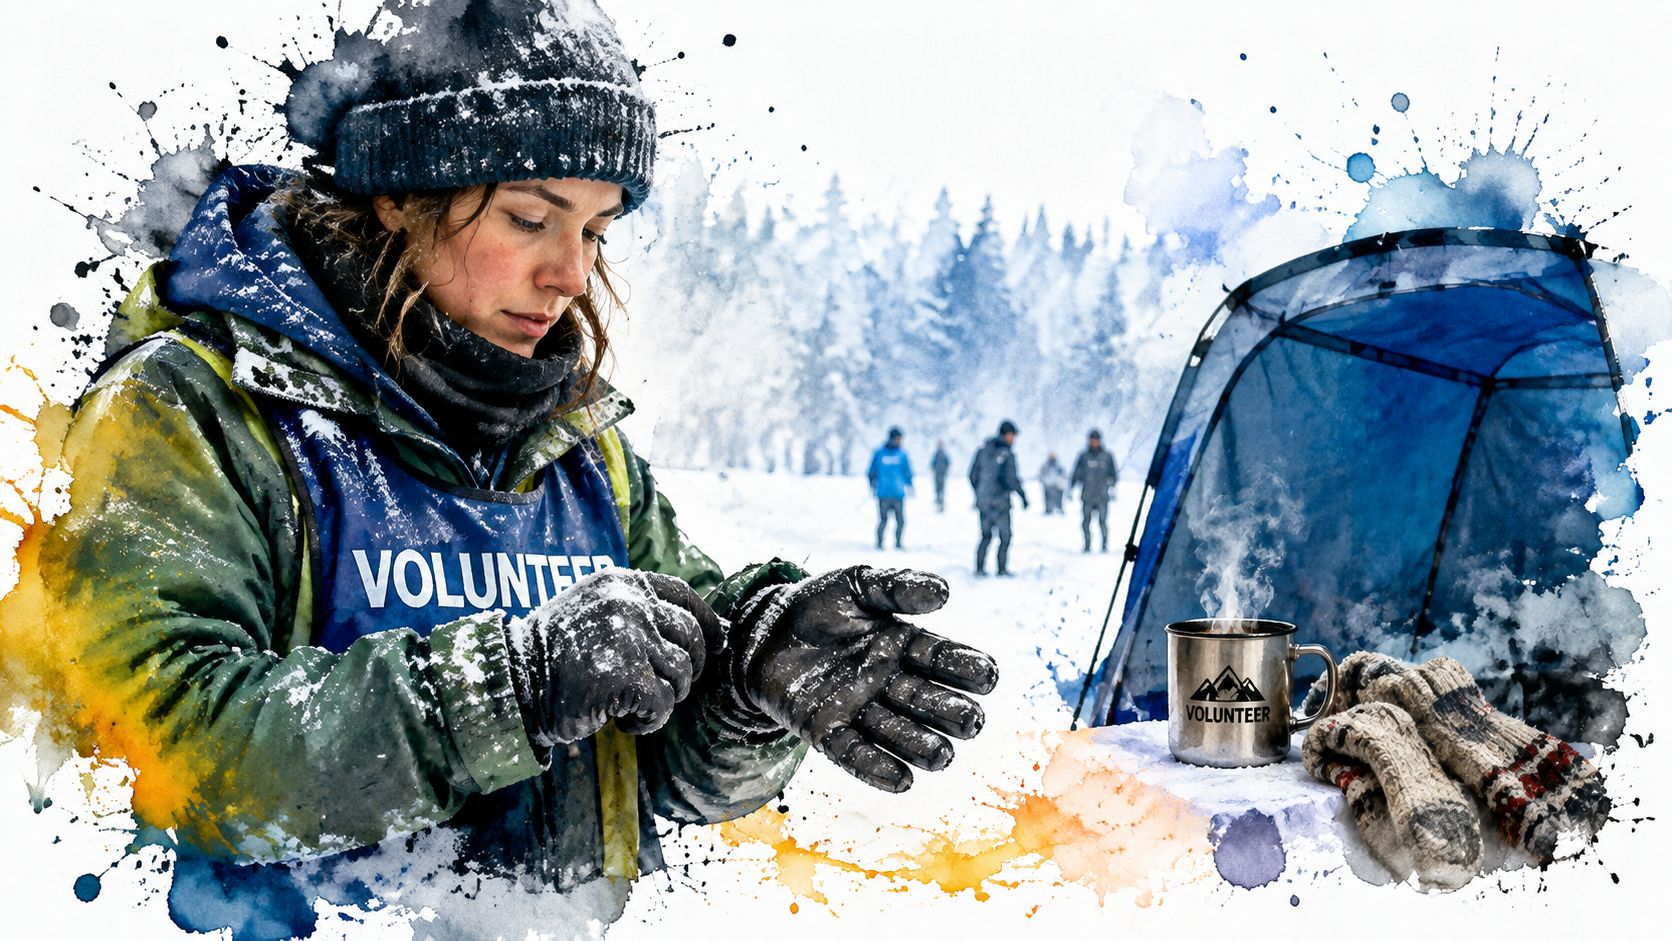
The hail came sideways that morning. Three volunteers and I huddled beneath a tree while rides kept canceling, and I watched wet gloves turn stiff before we made the only sensible call: we stopped, got warm, and went home.
That experience changed how I lead outdoor crews. Cold weather preparation isn't a clothing checklist. It connects warmth, safety, transportation, timing, communication, and morale into one field logistics problem. When people lose feeling in their hands or stop thinking clearly, the cleanup ends whether the leader planned for it or not.
Why Cold Weather Preparation Matters for Volunteers
On a freezing cleanup day, trouble often appears in small signals. A volunteer says, “I'm fine,” while rubbing one hand against a sleeve. Another keeps working with a soaked cuff. A third goes quiet and stops joking. If I wait for everyone to admit they are cold, the weather has already started directing the work.
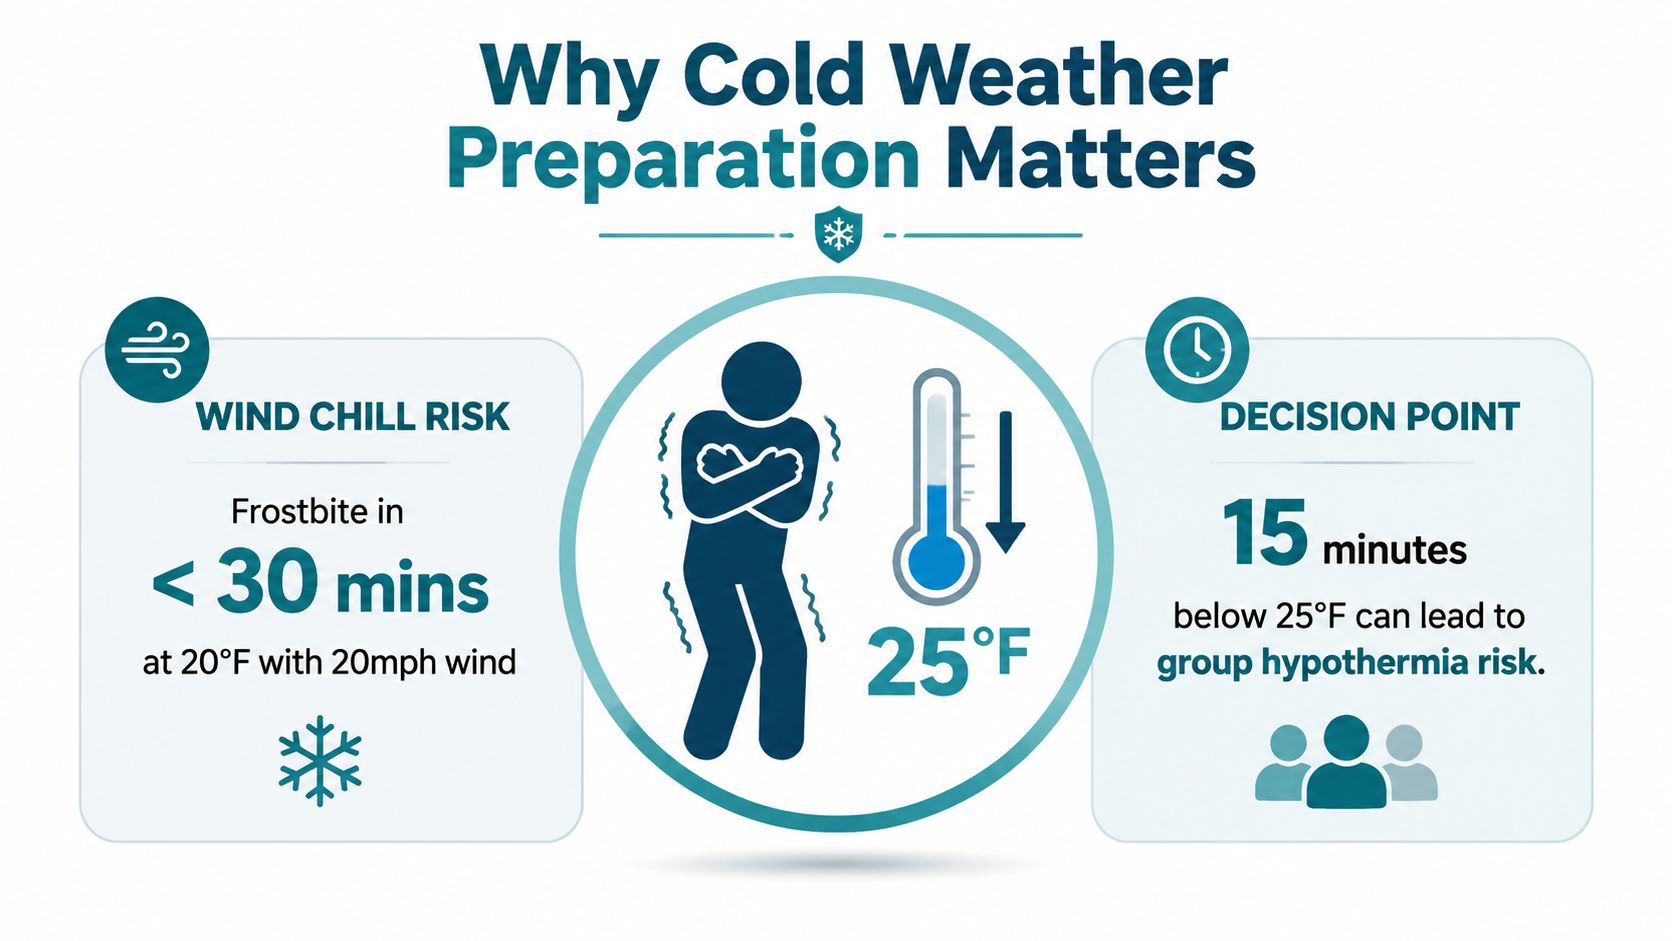
Wind changes the calculation quickly. The National Weather Service says a wind chill of -20°F can cause frostbite in about 30 minutes (National Weather Service guidance on extreme cold). Fingers, ears, noses, and cheeks usually lose the fight first because wind removes heat from exposed skin, while wet fabric draws warmth away from the body.
Cold exposure also carries a wider health burden. A global modeling study in The Lancet Planetary Health estimated that non-optimal ambient temperatures were associated with about 5.08 million deaths per year worldwide from 2000 to 2019. It attributed 4.59 million of those deaths to cold, roughly 8.52% of global deaths annually (The Lancet Planetary Health study00081-4/fulltext)). Those figures cannot decide whether a cleanup should continue on one particular morning. They do establish cold exposure as a genuine health hazard, not a minor inconvenience.
Morale belongs in the safety plan
Cold changes group behavior before it produces an obvious injury. Volunteers rush, skip warming breaks, hide discomfort, and make poorer decisions around ice, traffic, tools, and unstable debris. One frightened or badly chilled person can pull the crew toward panic when nobody knows who can stop the event or where people should warm up.
Field rule: If the group cannot get warm, communicate clearly, and move safely, the workday is already over.
England's winter health review identifies year-round planning and winter preparedness and action as the first two stages of its Cold Weather Plan (England winter weather and health review). That sequence matches practical volunteer leadership. Plan before the forecast looks dramatic, then act early when conditions reach the limits you set. Warmth, safety, and morale depend on the same logistics: clothing must preserve function, buddies must notice symptoms, and shelter must be close enough that volunteers will use it.
Layering and Gear That Actually Works
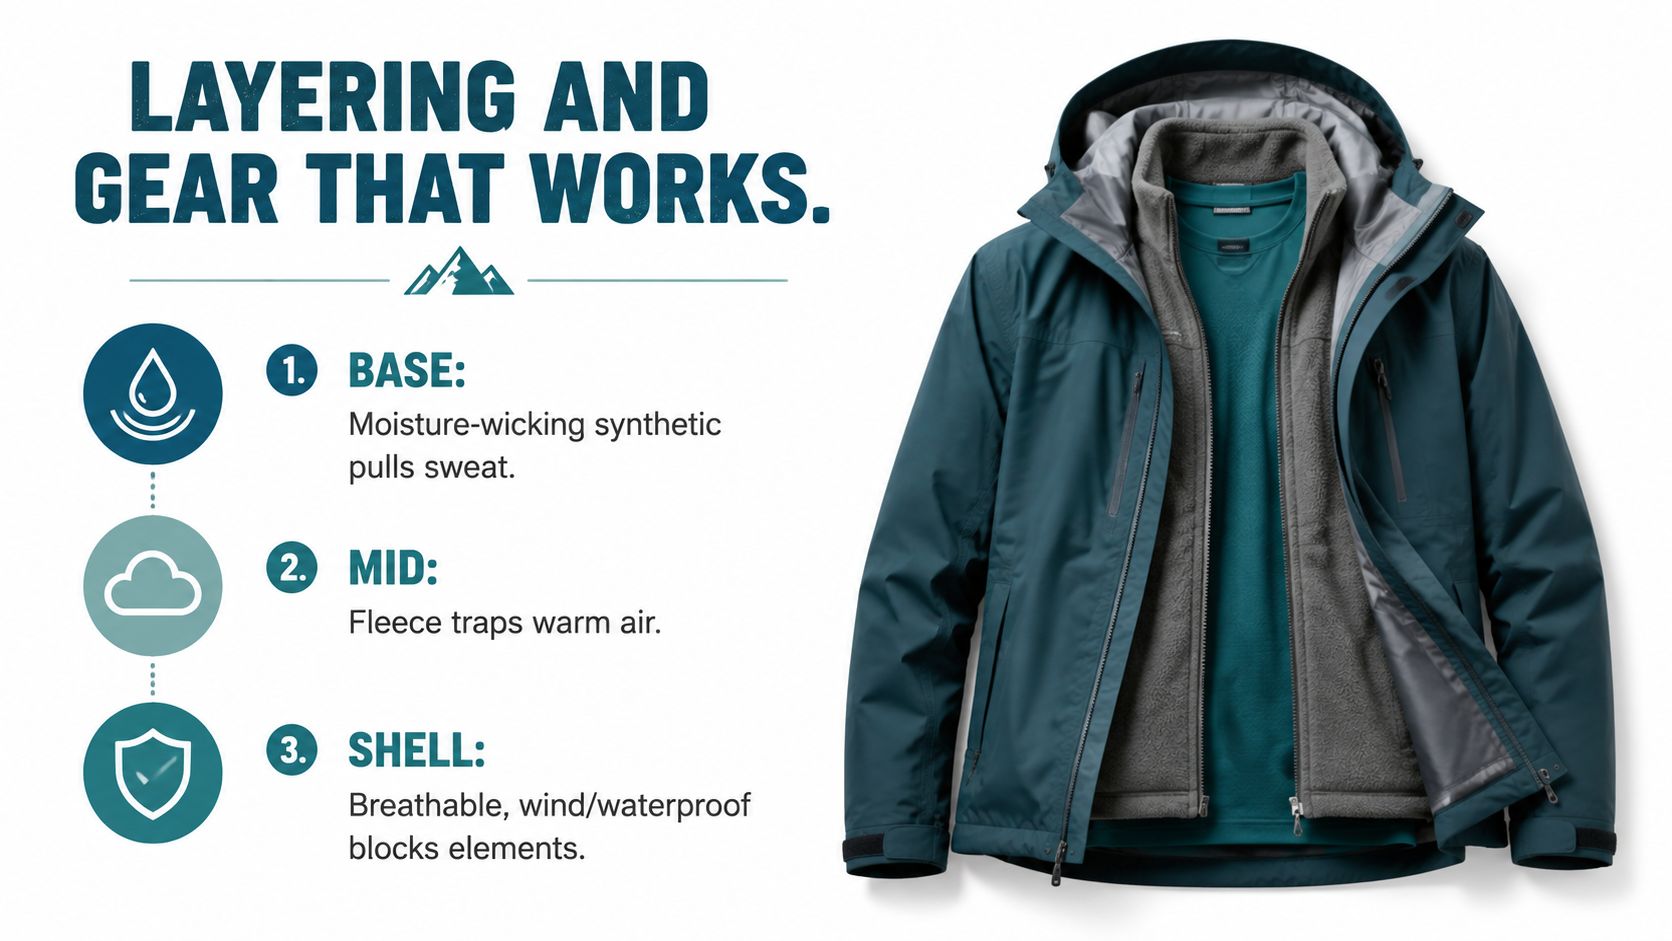
Start with the layer touching the skin. Choose a moisture-wicking synthetic or wool base layer that moves sweat away from your body. Cotton feels comfortable at the start, yet it stays wet after exertion and then chills you when you slow down.
The middle layer traps warm air. Fleece or a synthetic insulated jacket works well because it adds warmth without making movement impossible. The outer shell blocks wind and rain while allowing some moisture to escape. NIOSH recommends this three-layer system, along with loose clothing that preserves circulation (NIOSH cold stress guidance).
Fit decides whether layers help
You need room to move and enough space for warm air between layers. Zip the jacket, bend at the waist, and raise both arms before work begins. If the clothing pulls tight across your stomach or shoulders, add a larger shell rather than compressing the layers underneath.
Protect the parts volunteers forget:
- Feet: Wear waterproof insulated boots with wool socks. Pack backup socks in a sealed bag.
- Head and neck: Use a warm hat with a balaclava or neck gaiter when wind reaches the face.
- Hands: Wear insulated gloves with thin liners underneath. Keep spare gloves in a dry bin.
- Pockets: Store hand warmers where volunteers can reach them before their fingers go numb.
- Backpack: Carry a dry base layer sealed in a gallon bag, so a soaked shirt doesn't end the shift.
- Group supplies: Bring extra hats, gloves, socks, jackets, and dry clothes. People lose gear, underestimate the cold, or arrive dressed for a short walk instead of active work.
Schedule demanding cold jobs for the warmest part of the day, and assign relief workers when exposure lasts a long time, as NIOSH advises. Rotate people before they become exhausted. If your group handles overnight response or remote support, compare packable sleeping bag options before an event, since compact emergency sleep gear can support a shelter plan when travel gets disrupted.
Clothing also belongs beside injury prevention. Use the group's injury prevention strategies to pair warmth checks with safe lifting, tool handling, and movement on frozen ground.
Pre-Event Planning and Communication
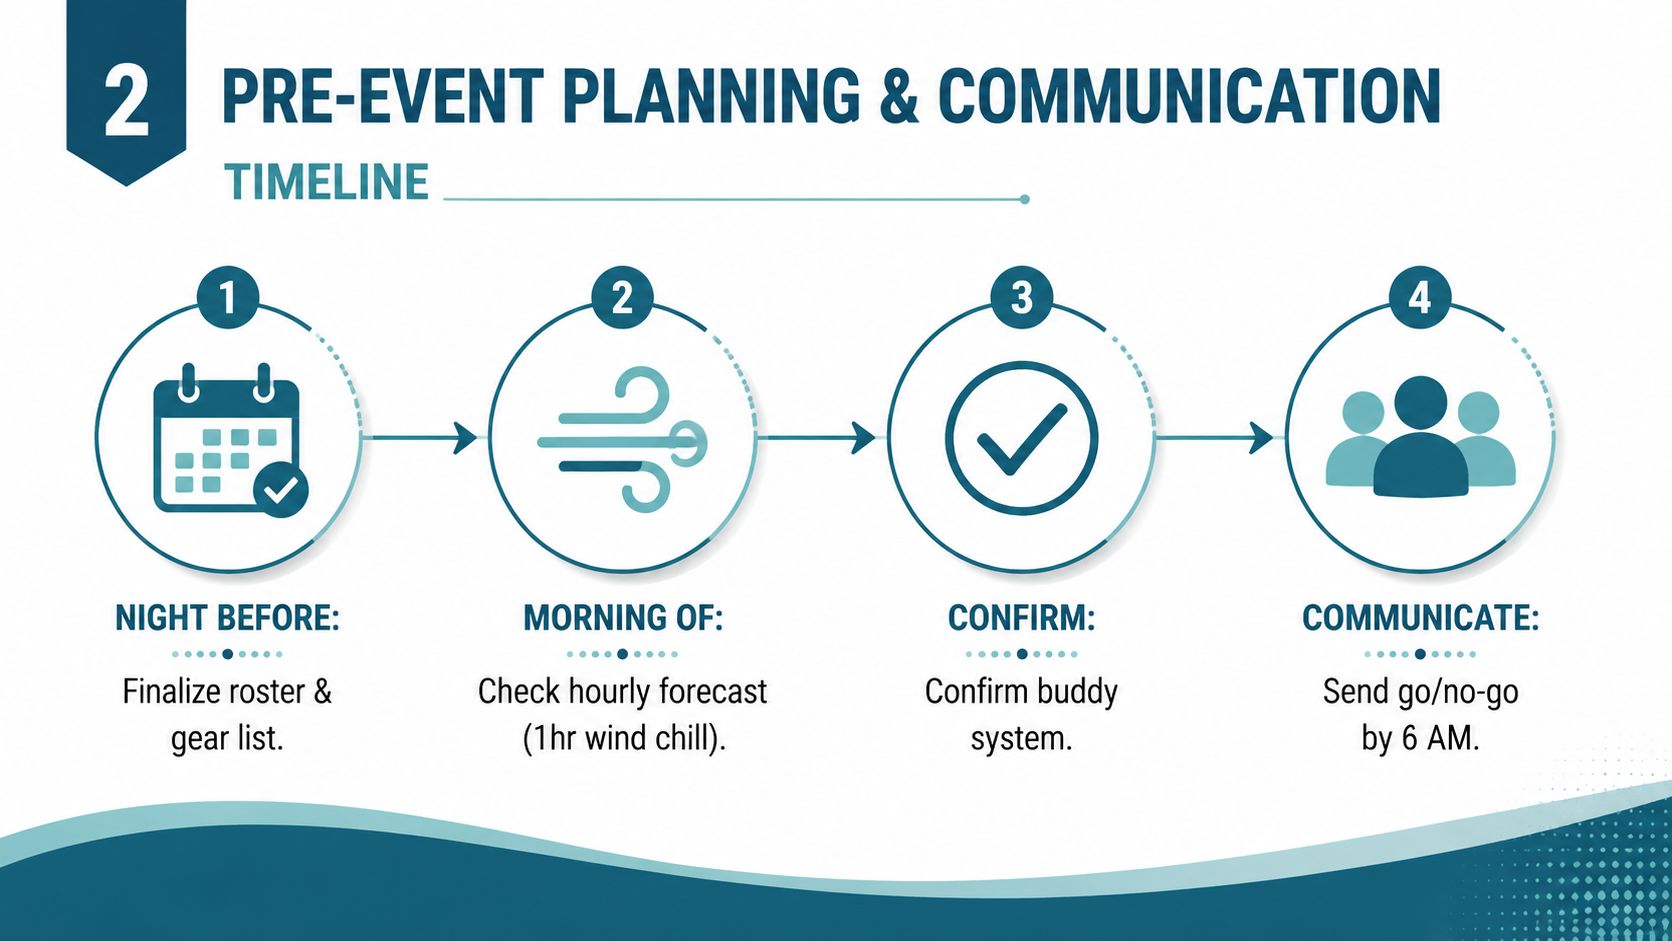
The night before an outdoor event, I want fewer surprises than the forecast can provide. Check the hourly temperature, wind chill, precipitation type, and sunset time. Then decide the latest conditions you'll accept and write that decision into the event message.
A useful plan has three messages. The first confirms the meeting point and start time. The second states what each person must bring, including a base layer, hat, gloves, and waterproof footwear. The third gives a clear go or cancel threshold, so volunteers don't travel while guessing.
Build the plan around people
Use a roster that includes phone numbers, emergency contacts, transportation notes, and any information volunteers choose to share about medical or mobility needs. Assign one person to make the final call. Group consensus sounds friendly, but it slows decisions when weather turns.
A buddy system catches problems earlier than a leader walking past a dozen people. Pair volunteers and ask each pair to watch for pale skin, soaked gloves, unusual silence, heavy shivering, and clumsy movement. Nobody should work alone or move beyond the group's hearing range.
Walk the site before tools come out
Arrive early enough to inspect the route and work zone. Look for black ice, exposed metal, frozen puddles, steep edges, and unstable footing. Cold hands make small hazards harder to manage, so move the work boundary or remove the task before volunteers arrive.
Keep the event message short enough to read outside. Link the team to a practical volunteer safety checklist and ask people to confirm their clothing before they leave home. A person who says, “I forgot gloves,” should receive a spare pair or a clear instruction to stay home, not pressure to improvise.
Frostbite and Hypothermia Risk in Real Time
You spot a volunteer standing too still near the north fence line. Check their hands, face, clothing, speech, and coordination before asking about the task. A thermometer cannot show soaked layers, fatigue, tight boots, or cold metal contact, all of which can shorten safe working time. Someone sweating during active hauling may cool rapidly once they stop.
NOAA cold-weather operations guidance places a 30-minute exposure limit in at least the moderate-risk category, a 10-minute limit in the high-risk category, and a 5-minute limit in the extremely high-risk category (NOAA cold-weather operations guidance). Use these as operating limits, not comfort goals. Shorten shifts, add relief, or stop before symptoms force the decision.
A wind chill of -20°F can produce frostbite in about 30 minutes, but that window does not apply equally to every volunteer. Wet gloves, restricted circulation, poor-fitting boots, and exhaustion can change the outcome. Set field rules around the most vulnerable conditions you can reasonably expect, not the strongest person in the group.
Use a simple field alert system
Green: Work in planned blocks. Buddies check faces, hands, clothing, and behavior while the lead keeps warming access available.
Amber: Shorten shifts, increase checks, and move wet or numb volunteers indoors. Reassign exposed tasks before discomfort becomes impaired movement.
Red: End outdoor work for exposed volunteers. Move anyone with confusion, slurred speech, severe clumsiness, persistent shivering, or pale, waxy skin to warmth, then seek medical help when symptoms concern you.
Use the table as a pocket field reference. It adds staffing actions to the exposure categories, so the lead can adjust for wetness, wind, symptoms, and the group's actual pace.
| Exposure category | Shift duration | Buddy-check frequency | Volunteer action |
|---|---|---|---|
| At least moderate risk | Short planned blocks | At each task change and before relief | Keep warming access ready and rotate exposed work |
| High risk | Brief shifts with relief | At every handoff | Restrict exposed tasks and move people through warming breaks |
| Extremely high risk | No exposed outdoor shift | Before anyone leaves shelter | End exposed outdoor work |
CDC mortality data recorded 1,024 U.S. deaths attributed to excessive cold or hypothermia in 2023, with 19.9% occurring in January (CDC mortality data cited in the CDC winter cold reference). A leader does not need to calculate a new threshold on site. Set the limit before the event, and let symptoms override the schedule.
Warming Breaks and On-Site Care
A warming break succeeds only if volunteers can use it before their hands and judgment deteriorate. I have seen crews crowd around a vehicle, hold one hand near a vent, and return to work while boots and gloves were still wet. The group looked supported, but no one had recovered enough to work safely.
Set a 50/10 rhythm: 50 minutes of active work, then 10 minutes of structured warming. As conditions worsen, shorten the work block to 40 minutes with 15 minutes of warmth, then use 30/20 when exposure becomes difficult to control. Post the schedule on the site board and cover it in the opening briefing. A planned break feels like part of the job, not a personal failure.
Build a shelter people want to enter
Place a heated vehicle or pop-up shelter close to the work area. Stock it with dry gloves, spare socks, hand warmers, blankets, and warm calorie-dense drinks in a thermos rotation. Keep fuel-burning heaters outside enclosed spaces unless an appropriate ventilation plan is in place. Never use a propane heater where carbon monoxide can collect.
Rotate tasks instead of leaving one volunteer with the coldest assignment. Someone hauling wet debris or digging frozen soil can work in a short burst, then switch to sorting bags near the shelter. This keeps people active while limiting the exposure that drains warmth and morale.
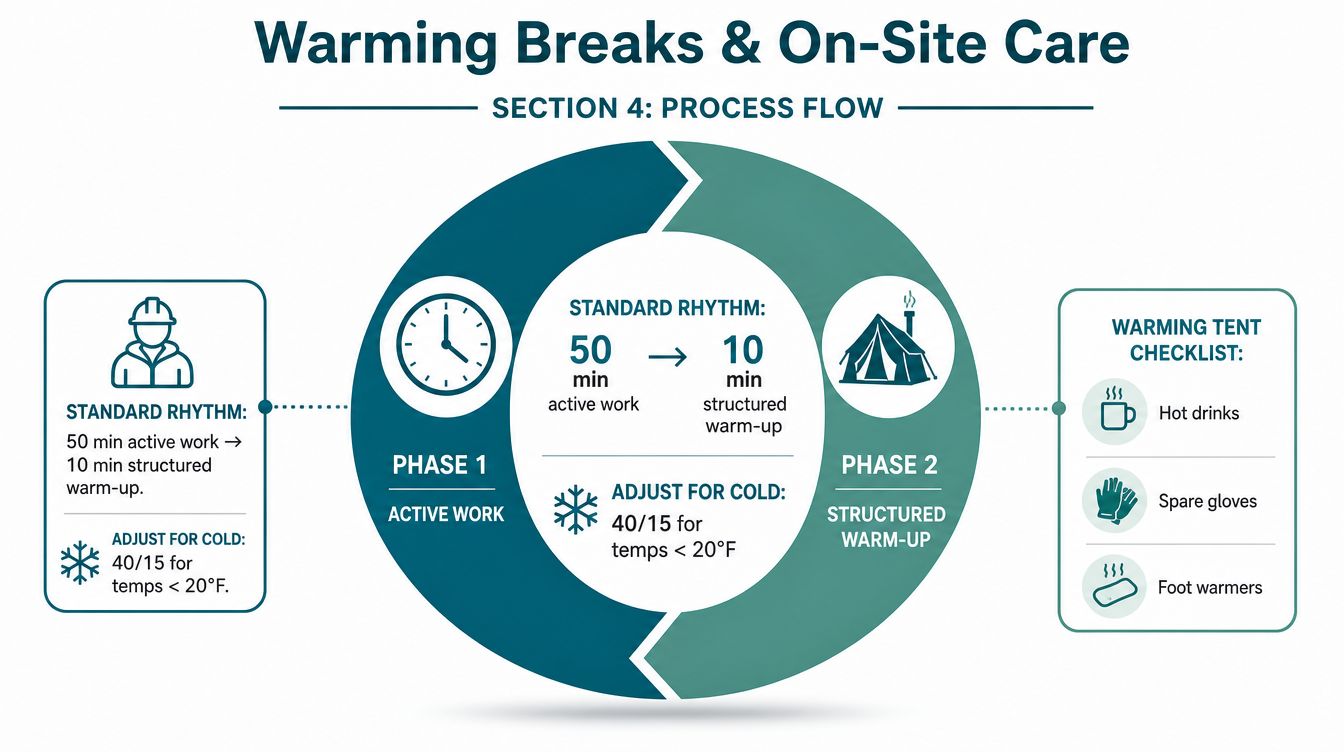
During each break, ask volunteers to check fingers and toes for numbness, unusual color, or reduced movement. Watch the person who has stopped complaining. Quiet may mean comfort, but it may also signal confusion, fatigue, or reduced awareness of danger.
Break standard: A volunteer should leave the warming area able to speak clearly, move normally, and feel their hands well enough to handle ordinary tasks.
Use the following video as a visual reminder of how an organized work and warming cycle can run:
Transportation, Shelter, and Contingency Plans
A warm crew can still get into trouble if the vehicles sit far away or the backup space can't hold everyone. Choose parking close to the work area, reserve one heated vehicle for emergency warming, and identify an indoor location that can take the full crew within ten minutes.
Stage supplies the night before:
- Dry replacements: Spare gloves, wool socks, hats, and hand warmers.
- Emergency insulation: Mylar blankets and extra jackets.
- Heating equipment: A propane heater with a clear ventilation plan.
- Communication: A charged phone, power bank, and incident contact list.
- Site access: Shovel, traction material, and a route that avoids the worst ice.
Set contingency triggers before the first bag moves. Lightning, black ice, sustained winds above 25 mph, or any volunteer showing warning signs should prompt a pause or cancellation. The single decision-maker then shortens the event without asking a shivering group to debate.
Transportation needs its own backup. Make a carpool list, record public transit options, and assume some drivers won't arrive. A no-one-drives-cold policy keeps tired, shivering volunteers off the road. If snow or ice changes the route, use the group's blizzard safety tips before asking people to travel.
Food planning matters after the event, too. Ready.gov says to keep refrigerators and freezers closed during a winter power outage, and to throw away food that reaches 40°F or higher for two hours or more (Ready.gov winter readiness guidance). Assign one person to handle food decisions instead of letting volunteers make uncertain choices while tired.
Volunteer Wellbeing and Post-Event Follow-Up
After Chicago hailstorms and winter cleanups, the work is not finished when the last bag reaches the vehicle. Within 24 hours, hold a short debrief and ask what nearly went wrong. Log numb fingers, missed breaks, wet clothing, transportation failures, and shelter problems while details remain clear. The record should change the next gear plan, staffing decision, or cancellation trigger.
Send each volunteer a personal thank-you that names their contribution. “Thanks for sorting the sharp debris near the fence” carries more weight than a generic group message. Ask whether symptoms continued after warming up, and encourage medical care when someone remains concerned.
Give people a reason to return
Retention depends on repeated proof that the group sees volunteers as people, not labor. Rotate leadership so one person does not always take the coldest or wettest assignment. After a difficult event, schedule an indoor gathering with drinks, food, and a brief conversation about what the crew accomplished.
Recognition can take the form of photos, shoutouts, or partner organizations, when volunteers welcome that attention. Litter Caterpillars runs volunteer trash pickups in Chicago, including winter events, offering organizers a practical model for pairing outdoor service with group care.
A volunteer who leaves cold, tired, or discouraged may not return, and could face greater risk at the next event without a better plan. Treat the event log, gear bin, warming break, and thank-you message as one leadership system. Cold weather preparation is care that continues from the first forecast check to the next invitation.
Visit Litter Caterpillars to find Chicago cleanup events where volunteer safety and group connection guide the work. Review your layers, pack dry backups, and join prepared to serve without treating cold exposure as a test of toughness.